Notes:
1. It's suggested to charge for more than 4 hours for the first time.
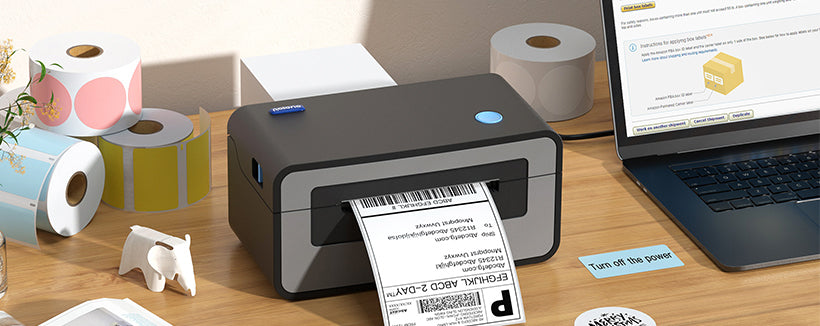
2. Before installation, power on the printer by long pressing the power button for 2 seconds, connect it to computer via USB cable included.
3. Use USB cable included in the package, which is functional of charging and data transmiting. Use other USB cable may cause the printer can't be detected by computer.
Set up
1. Go to "Preferences System"-"Printers & Scanners", click on "Add Printer, Scanners, or Fax..."

2. Select "POLONO A400 CPCL", click on "Auto Select" at "Use", then click on "Select Software"

3. Slide down, select "Zebra CPCL Label Printer", then click on "OK"

4. Select "POLONO A400 CPCL", select "Zebra CPCL Label Printer" at "Use", then click on "Add"

5. Open any PDF file, select printer as "POLONO A400 CPCL", set paper size as "4x6 inch" or "100x150mm"

6. Set scale as "Fit to paper", then print.